Strawberry Shortcake Biscuit Recipe
This post may contain affiliate links. For more information, see our Affiliate Disclosure Policy. Introduction There’s something about strawberry shortcake that just … Read more

This post may contain affiliate links. For more information, see our Affiliate Disclosure Policy. Introduction There’s something about strawberry shortcake that just … Read more
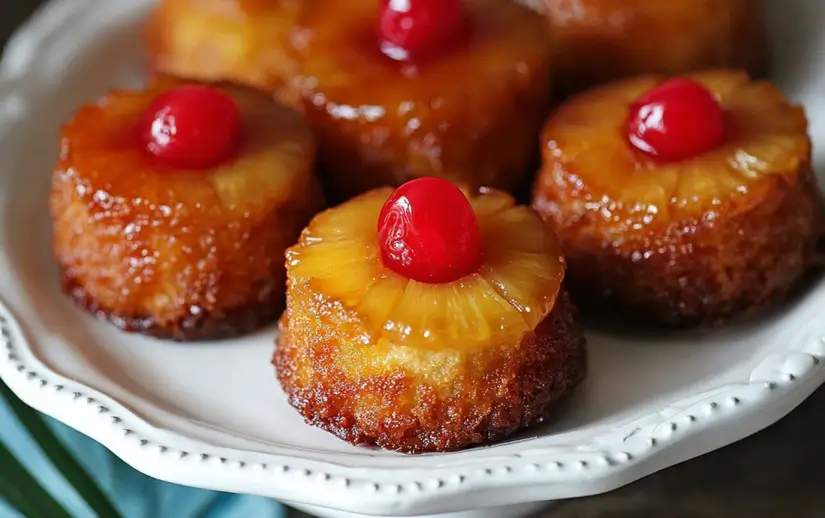
Introduction Let’s talk about the sweet sunshine of the cupcake world—Pineapple Upside-Down Cupcakes. These bite-sized beauties are a tropical twist on the … Read more
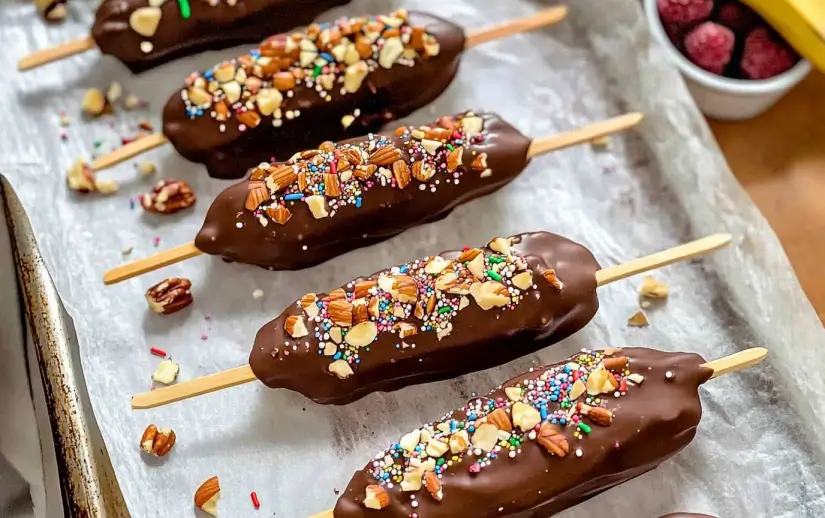
Introduction If you’re on the hunt for a quick, crowd-pleasing treat that feels indulgent but is sneakily nutritious, these chocolate covered bananas … Read more
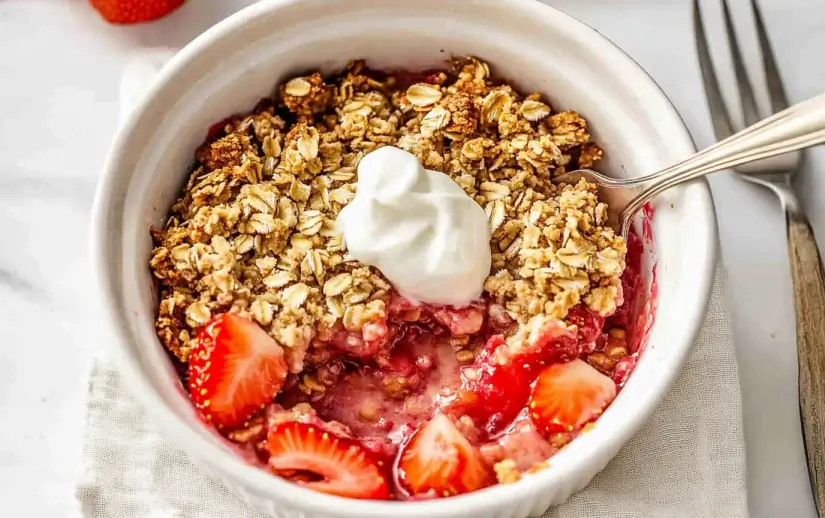
Introduction If you’re anything like me, when strawberries hit their juicy peak in spring and summer, you want to put them in … Read more
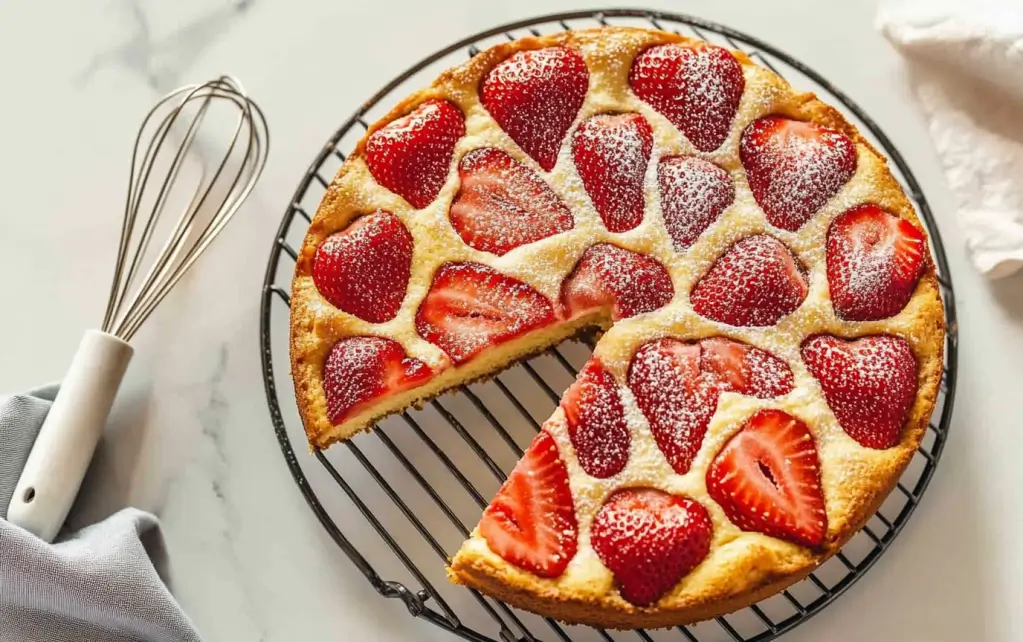
Introduction There’s nothing quite like the sweet, juicy burst of strawberries baked into a warm, golden cake—and this fresh strawberry cake is … Read more
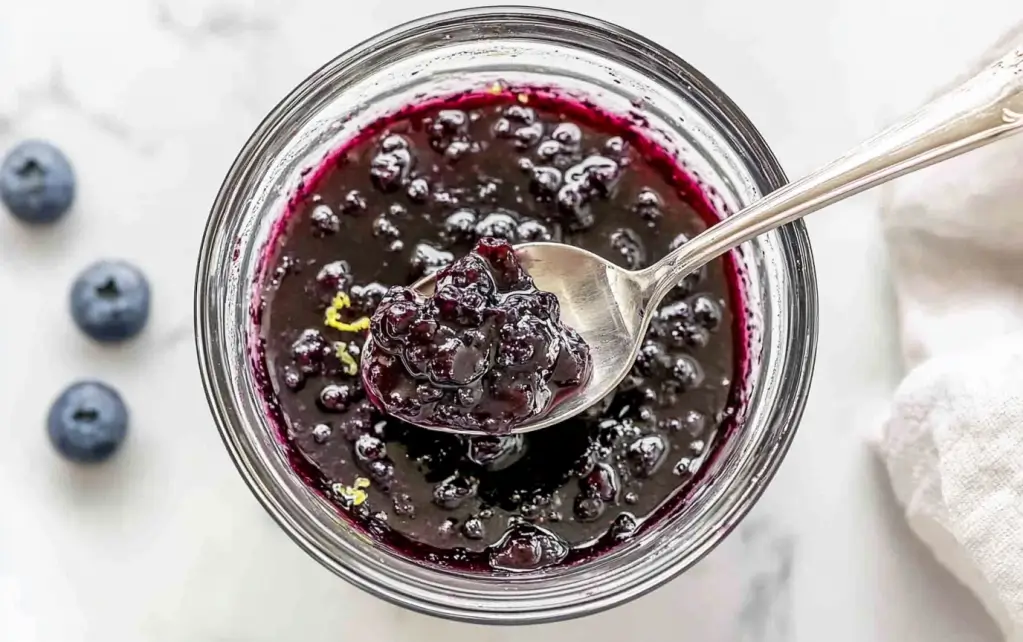
Introduction If you’re looking for a quick and versatile fruit topping, this blueberry compote is about to become your go-to favorite. Made … Read more
, you’re going to love this one too. ## Why You’ll Love This Recipe ### Key Benefits * **Quick & easy** – Only 10 minutes of hands-on prep time * **No baking required** – Just melt, spoon, and chill * **Kid-friendly and adult-approved** – A universal crowd-pleaser * **Make-ahead friendly** – Great for storing in the fridge or freezer * **Minimal cleanup** – You only need a few bowls and a spoon ### Taste & Texture The flavor combo is irresistible. You get: * A rich, smooth dark chocolate shell * Creamy peanut butter that melts in your mouth * A sweet, fruity burst from the jelly or jam * A pop of salt that ties everything together The texture is layered: crisp chocolate shell, soft nutty center, and a gooey jelly surprise. ### Dietary Attributes These chocolate cups are naturally **gluten-free** and can be made **vegan** by using plant-based chocolate chips and jelly without gelatin. They also use minimal processed ingredients and can be made refined sugar-free depending on your jam. ## Ingredients & Substitutions ### Ingredient List * 1 cup dark chocolate chips * ½ tablespoon coconut oil * ¼ cup creamy peanut butter * ¼ cup jam or jelly (your favorite flavor) * ½ teaspoon flaky sea salt ### Notes on Quality * **Chocolate chips:** Use a good-quality dark chocolate. I like 70% cacao for a deep, bittersweet flavor. * **Peanut butter:** Creamy natural peanut butter works beautifully here. Stir well if the oil has separated. * **Jelly/Jam:** Strawberry, raspberry, or grape jelly all work great. Go with a seedless version for the smoothest texture. * **Coconut oil:** Helps thin the chocolate for easy pouring and smooth texture. ### Possible Substitutions * **Nut-free:** Swap peanut butter with sunflower seed butter. * **Different nut butters:** Almond butter or cashew butter are fantastic substitutes. * **Vegan version:** Use vegan chocolate chips and plant-based jam. * **No coconut oil?** A little bit of butter or neutral oil (like avocado oil) works in a pinch. ## Step-by-Step Instructions 1. **Melt the chocolate:** Place chocolate chips in a microwave-safe bowl and heat in 30-second increments, stirring each time, until smooth. Stir in the coconut oil until fully combined. 2. **Fill muffin liners:** Place 12 muffin liners on a sheet pan. Spoon about 2–3 teaspoons of melted chocolate into each. Gently tilt the liner so the chocolate spreads about ¼ inch up the sides. 3. **Chill the base:** Refrigerate the tray for 5–10 minutes until the chocolate sets. 4. **Add fillings:** Use the back of a spoon to add a dollop of peanut butter in the center of each chocolate base. Spread slightly toward the edges without touching the sides. 5. **Add jelly:** Place a small dollop of jelly on top of the peanut butter. 6. **Top with more chocolate:** Cover the peanut butter and jelly layers with the remaining melted chocolate. 7. **Finish with salt:** Sprinkle a tiny pinch of flaky sea salt on each cup. 8. **Final chill:** Refrigerate for 30 minutes or until completely hardened. ## Expert Tips & Tricks ### Best Practices * Let the first chocolate layer fully set before adding peanut butter — this keeps the layers clean and pretty. * Use a piping bag or zip-top bag with the corner cut off for neater filling if you're making a large batch. * A small offset spatula or butter knife helps spread the layers smoothly. ### Common Mistakes * **Using watery jelly:** This can make the cups soggy. Thicker jam or jelly gives the best texture. * **Overfilling:** Leave space at the top for sealing with the final chocolate layer. * **Skipping the salt:** That sprinkle of flaky sea salt takes this dessert from tasty to gourmet. ### Time-Saving Tips * Melt chocolate and prep the filling ingredients while the first layer is chilling. * Make a double batch and freeze half for future dessert emergencies. ## Serving Suggestions ### Pairings These PB\&J chocolate cups are wonderful served alongside: * A cup of hot coffee or espresso * A fruit salad for a refreshing contrast * Vanilla ice cream for an indulgent dessert plate ### Presentation Ideas * Peel back the muffin liners and stack the cups in a small mountain on a pretty serving tray. * Serve on a rustic wooden board with berries for a playful, picnic-style vibe. * Use gold cupcake liners for a fancy holiday dessert table. ### Beverage Pairings * **Non-alcoholic:** Cold almond milk, chai latte, or berry-infused iced tea * **Cocktails:** Raspberry mojito or chocolate martini * **Wine:** A smooth port or dessert red wine complements the dark chocolate beautifully ## Storage & Reheating ### Leftover Storage * Store in an airtight container in the fridge for up to **one week** * For longer storage, freeze for up to **3 months** — layer with parchment between each cup to prevent sticking ### Reheating Methods These are best enjoyed cold or at room temperature, but if you need to soften them slightly: * Let sit at room temp for 5–10 minutes * Avoid microwaving — it will melt the chocolate too much ## Frequently Asked Questions ### Substitutions & Adjustments **Can I use milk chocolate instead of dark chocolate?** Yes! It’ll be sweeter, but still delicious. **What’s the best jelly to use?** I love strawberry or raspberry for a classic PB\&J vibe, but grape is a nostalgic favorite too. **Can I make these nut-free?** Absolutely. Use sunflower seed butter or even cookie butter for a nut-free twist. ### Troubleshooting **My chocolate cups are too hard to bite. What happened?** They may be too cold. Let them sit for 5–10 minutes after pulling from the fridge. **My jelly is leaking out. How do I fix this?** Use less jelly and make sure your peanut butter forms a little “wall” around the edges. **The chocolate layers separated. Why?** Make sure each layer sets completely before adding the next, and avoid over-handling. ## Variations & Customizations ### Dietary Adaptations * **Vegan:** Use dairy-free chocolate and gelatin-free jelly. * **Low-sugar:** Choose sugar-free or reduced-sugar jelly and dark chocolate with no added sugar. * **Keto:** Use sugar-free chocolate and peanut butter, and opt for a keto-friendly jam substitute. ### Flavor Twists * Swap peanut butter for almond butter and use apricot jam for a fancy twist. * Add a sprinkle of crushed peanuts between layers for crunch. * Mix a bit of cinnamon or vanilla into the peanut butter for an extra flavor dimension. ### Seasonal/Holiday Versions * **Valentine’s Day:** Use heart-shaped silicone molds and raspberry jam. * **Christmas:** Add crushed candy cane bits or a sprinkle of cinnamon. * **Back-to-school:** Let kids choose their own jam flavor for a fun lunchbox treat. ## Conclusion These PB\&J Chocolate Cups are everything you love about the classic sandwich — reimagined as a decadent bite-sized treat. Whether you’re hosting a gathering or simply treating yourself, these are easy to make and even easier to devour. I’d love to see your version of this recipe — especially if you get creative with the fillings. Tag me on Pinterest at [Cooking with Callie](https://www.pinterest.com/recipescookingwithcallie/) and let’s share the love. If you enjoyed this, you’ll also want to check out my [Dark Chocolate Berry Bark](https://cookingwithcallie.com/dark-chocolate-berry-bark-no-bake-dessert/), [Cheesy Crescent Roll Garlic Knots](https://cookingwithcallie.com/cheesy-crescent-roll-garlic-knots/), and [Easy Cinnamon Sugar Pretzels](https://cookingwithcallie.com/easy-cinnamon-sugar-pretzels/) for more crave-worthy snacks and desserts.](https://cookingwithcallie.com/wp-content/uploads/2025/05/PBJ-Dark-Chocolate-Cups-Youll-Crave-1.webp)
Introduction Imagine the absolutely nostalgic joy of biting into a classic childhood peanut butter and jelly sandwich at lunchtime, NOW genuinely wrap … Read more
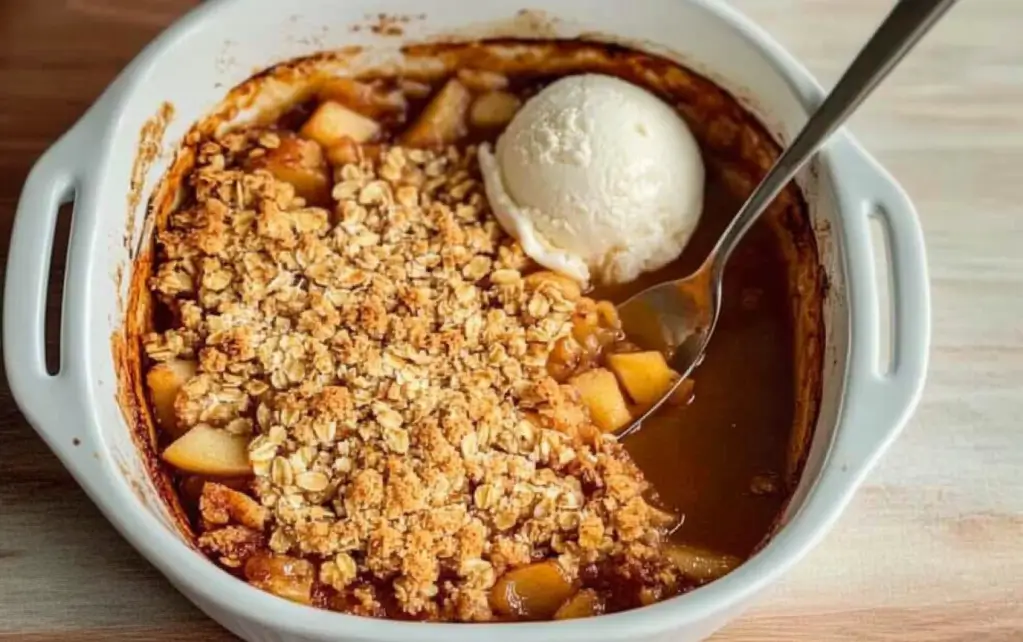
Introduction Let me genuinely talk to you about cozy, heartwarming desserts for just a moment. You know the kind that absolutely makes … Read more
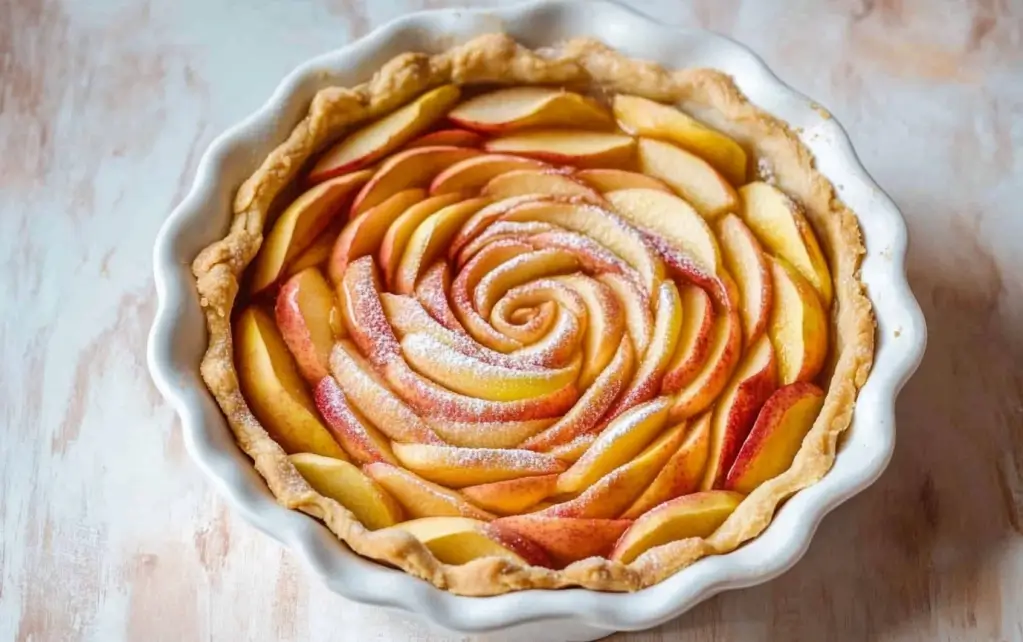
Introduction There is honestly just something absolutely magical about the warm aroma of fresh ground cardamom wafting through your entire kitchen on … Read more
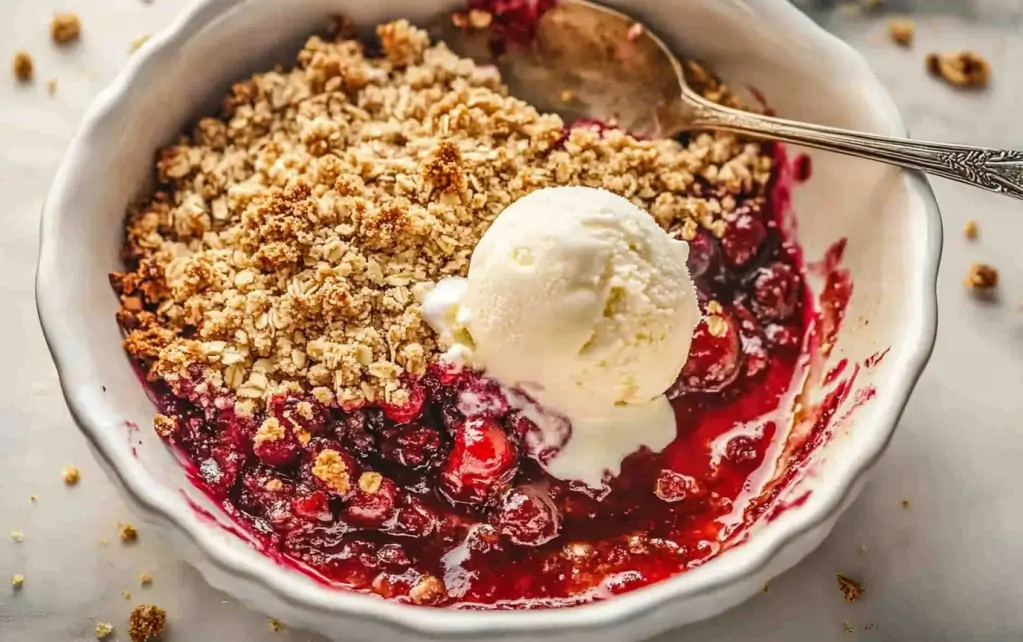
Introduction This incredible sour cherry crisp is honestly everything an absolutely classic summer dessert should be in a single magical baking dish. It is … Read more
Stay updated with the most relevant and searched tags across our platform
Discover flavorful inspiration with Cooking With Callie Cooks Recipes—your go-to blog for everyday meals and culinary creativity
Cooking With Callie Cooks Recipes brings you a world of delicious dishes, cooking inspiration, and expert tips—explore flavors, master techniques, ignite passion.
© 2025 Cooking With Callie Cooks Recipes. All rights reserved.